TONOR Mic Preamp: A Comprehensive Guide for Dynamic Microphones
Dynamic microphones are a popular choice for a variety of applications, including podcasting, live streaming, and recording. However, dynamic mics can produce a weak signal, which may require a preamp to boost the level to a suitable level for recording or broadcasting.
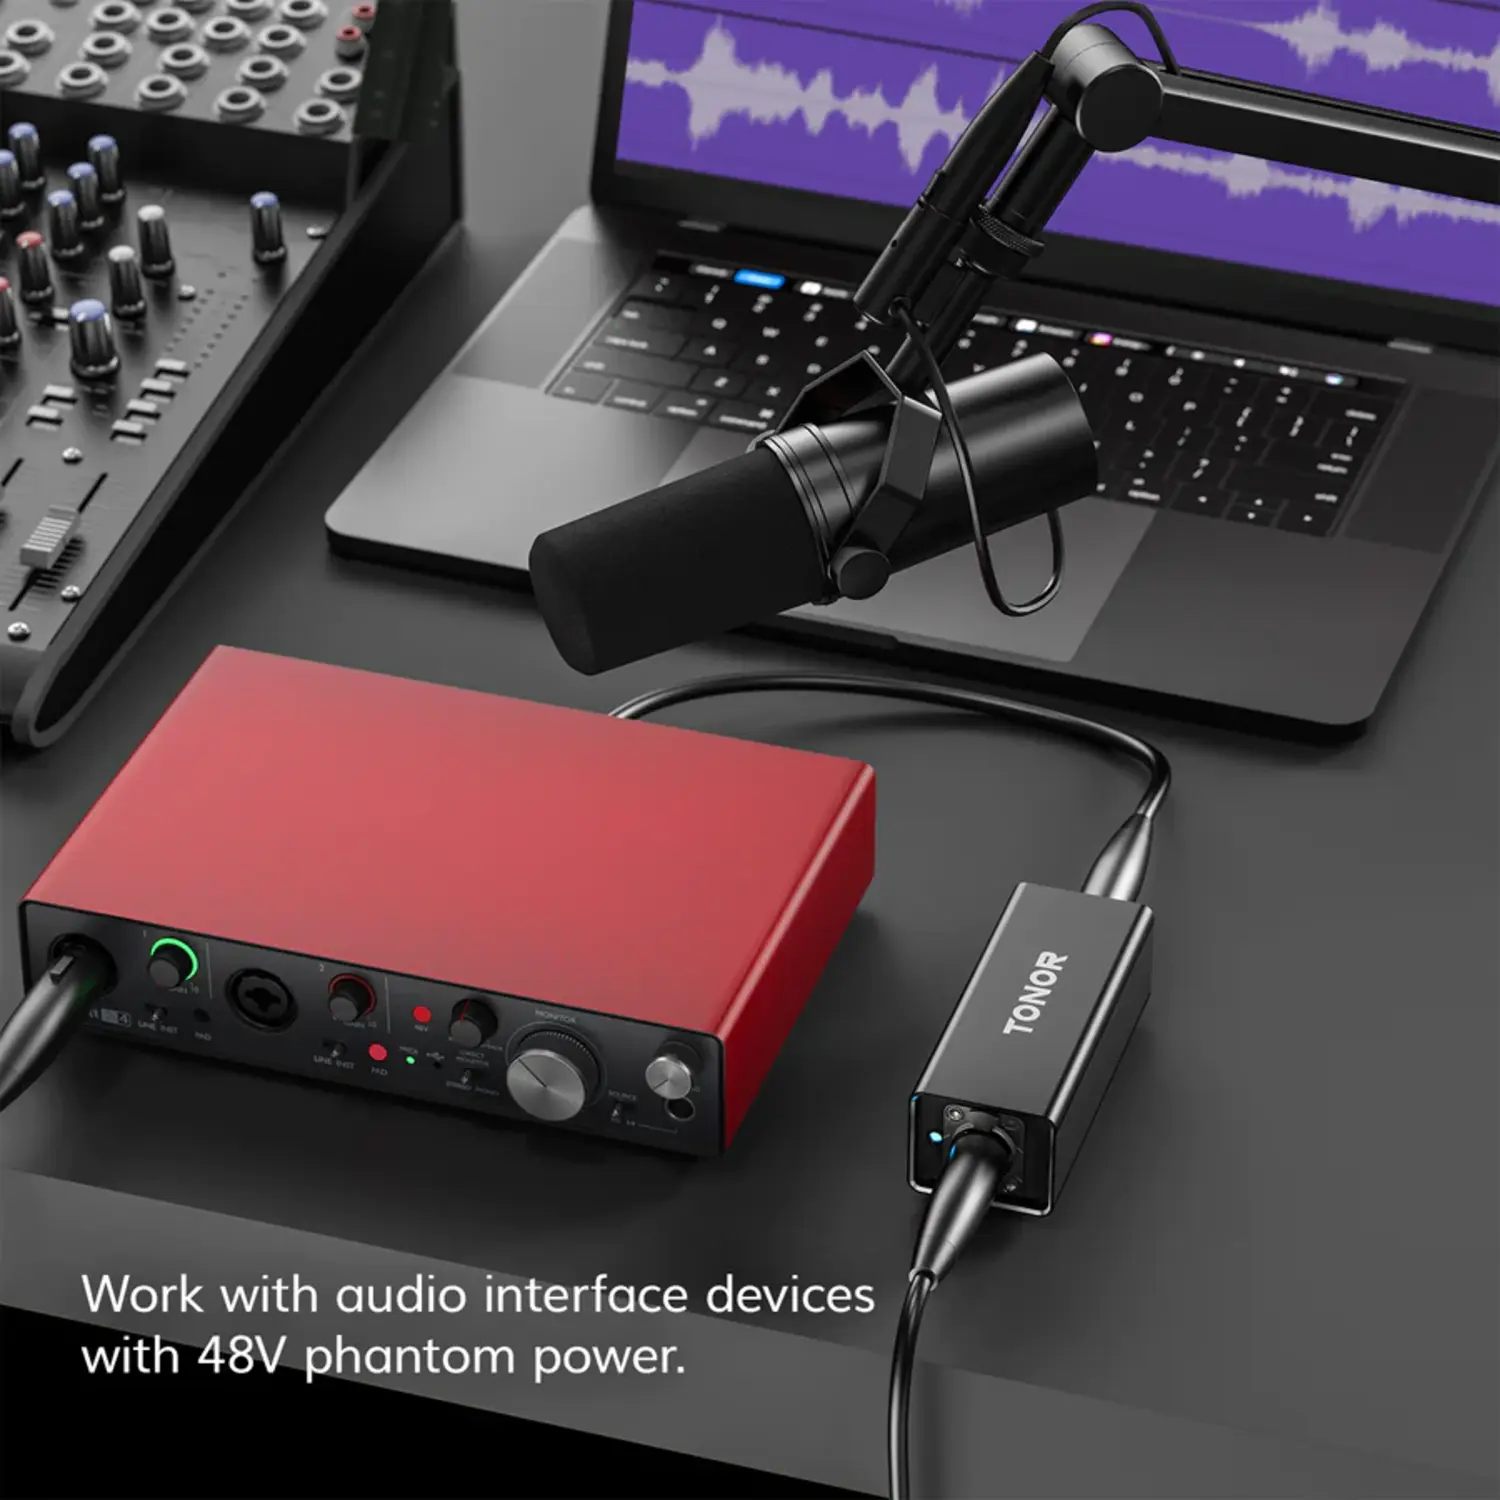
One popular option for a dynamic mic preamp is the TONOR TA20. The TA20 is a budget-friendly preamp that offers a number of features, including:
- Up to +20 dB of gain
- Ultra-low noise and distortion
- 48V phantom power for condenser microphones
- Plug safety lock
- LED indicator light
The TONOR TA20 is a versatile preamp that can be used with a variety of dynamic microphones, including the Shure SM7B, SM57, and SM58. It is also compatible with condenser microphones, but does not require 48V phantom power for dynamic mics.
When to use a preamp for a dynamic microphone
There are a few reasons why you might want to use a preamp for a dynamic microphone:
- To boost the signal level to a suitable level for recording or broadcasting.
- To improve the overall sound quality of your recordings.
- To add a bit of character or color to your sound.
If you are using a dynamic microphone with a computer or audio interface, you may not need a preamp, as these devices typically have built-in preamps. However, if you find that the signal level from your microphone is too low, or if you want to improve the overall sound quality, using a preamp can make a big difference.
How to use the TONOR TA20 preamp
The TONOR TA20 preamp is very easy to use. Simply connect your microphone to the input XLR jack on the preamp, and then connect the output XLR jack on the preamp to your computer, audio interface, or mixer.
To turn on the preamp, press the power button. The LED indicator light will turn blue to indicate that the preamp is on.
To adjust the gain level, use the gain knob on the preamp. Start with the gain knob set to zero, and then gradually increase the gain until you reach a suitable level.
If you are using a condenser microphone, you will need to enable 48V phantom power on the preamp. To do this, press the phantom power button on the preamp. The LED indicator light will turn green to indicate that 48V phantom power is enabled.
Once you have connected your microphone and set the gain level, you are ready to start recording or broadcasting.
Tips for using the TONOR TA20 preamp
Here are a few tips for using the TONOR TA20 preamp:
- Start with the gain knob set to zero, and then gradually increase the gain until you reach a suitable level.
- Avoid setting the gain too high, as this can lead to distortion.
- If you are using a condenser microphone, be sure to enable 48V phantom power on the preamp.
- Experiment with different gain levels and settings to find what works best for your voice and microphone.
Pros and cons of the TONOR TA20 preamp
Pros:
- Affordable price
- Easy to use
- Compact and lightweight
- Good sound quality
- Up to +20 dB of gain
- Ultra-low noise and distortion
- 48V phantom power for condenser microphones
- Plug safety lock
- LED indicator light
Cons:
- Some users have reported that the preamp can be noisy at higher gain levels.
- The preamp is made of plastic, which may feel less durable than metal preamps.
Overall, the TONOR TA20 is a great preamp for dynamic microphones. It offers good sound quality, a variety of features, and an affordable price. If you are looking for a budget-friendly preamp to boost the signal level and improve the sound quality of your dynamic microphone, the TONOR TA20 is a great option.


